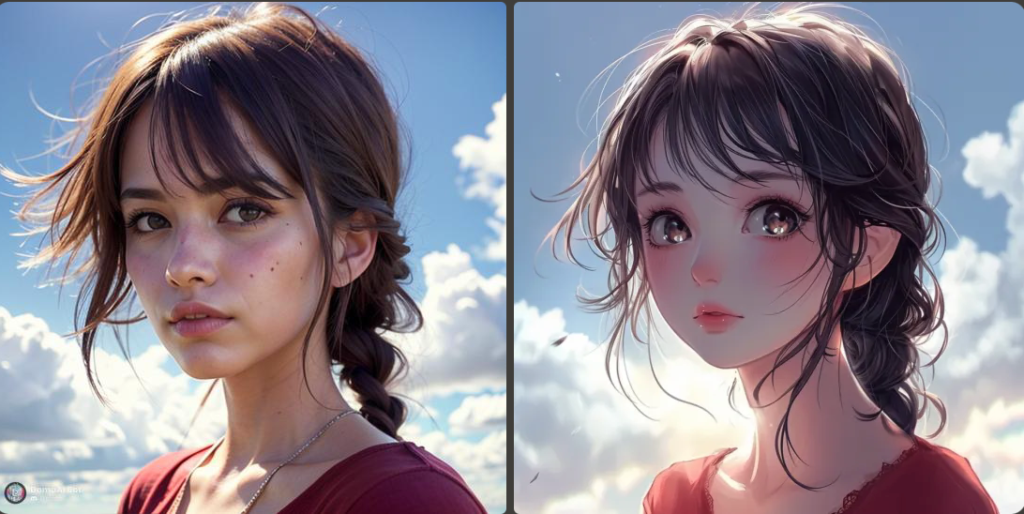
In the era of digital content creation, the ability to animate photos with the help of AI has become an increasingly popular and accessible skill. Whether you’re looking to add a touch of magic to your personal photos or enhance your professional content, AI-powered photo animation tools can help you achieve stunning results. Here’s a comprehensive guide on how to animate photos using AI:
What is AI Photo Animation?
AI photo animation is the process of using artificial intelligence to transform static images into dynamic, moving pictures. This technology uses deep learning algorithms to analyze the content of the photo and generate realistic movements, creating an illusion of life.
Tools You’ll Need
- AI-powered photo animation software: There are several options available, such as Deep Nostalgia, MyHeritage, and FaceApp.
- A static photo: Choose a high-quality image with a clear subject.
- A computer or smartphone: Ensure you have a compatible device to run the software.
Step-by-Step Guide to Animating Photos with AI
Step 1: Choose the Right Software
Select an AI-powered photo animation software that suits your needs and budget. Consider factors such as ease of use, quality of results, and available features.
Step 2: Prepare Your Photo
Open the chosen software and upload your static photo. Make sure the photo is in a compatible format and meets the software’s requirements.
Step 3: Select the Animation Type
Choose the type of animation you want to apply to your photo. Options may include:
- Facial animations (e.g., blinking, smiling)
- Full-body animations (e.g., walking, dancing)
- Object animations (e.g., moving cars, swaying trees)
Step 4: Customize the Animation
Use the software’s tools to customize the animation. You may be able to adjust:
- The speed of the animation
- The direction of movement
- The intensity of the animation
- The duration of the animation
Step 5: Preview and Refine
Preview the animation to see how it looks. If you’re not satisfied, you can make adjustments and preview again until you achieve the desired result.
Step 6: Export and Share
Once you’re happy with the animation, export it in a suitable format (e.g., GIF, MP4) and share it on your preferred platform.
Tips for Success
- Choose high-quality photos with clear subjects.
- Experiment with different animation types and customization options.
- Keep your animations short and focused to maintain viewer interest.
- Consider adding sound effects or music to enhance the viewer experience.
Conclusion
AI photo animation is a powerful tool that can help you breathe life into your static images. By following this step-by-step guide, you can create captivating animations that engage your audience and elevate your content.
Note: The availability and features of AI photo animation software may vary. Always read the software’s documentation and terms of use before using it.


